
As a professional photographer, you have enough on your plate than to spend hours in front of your computer editing – but maybe you just don’t feel like you’re in a position to outsource that job just quite yet. How do you speed up your editing time?
Luckily, there are a few steps you can take at your sessions and events to speed along the editing process. Here are some steps you can implement into your processes to make the editing go faster than ever before.
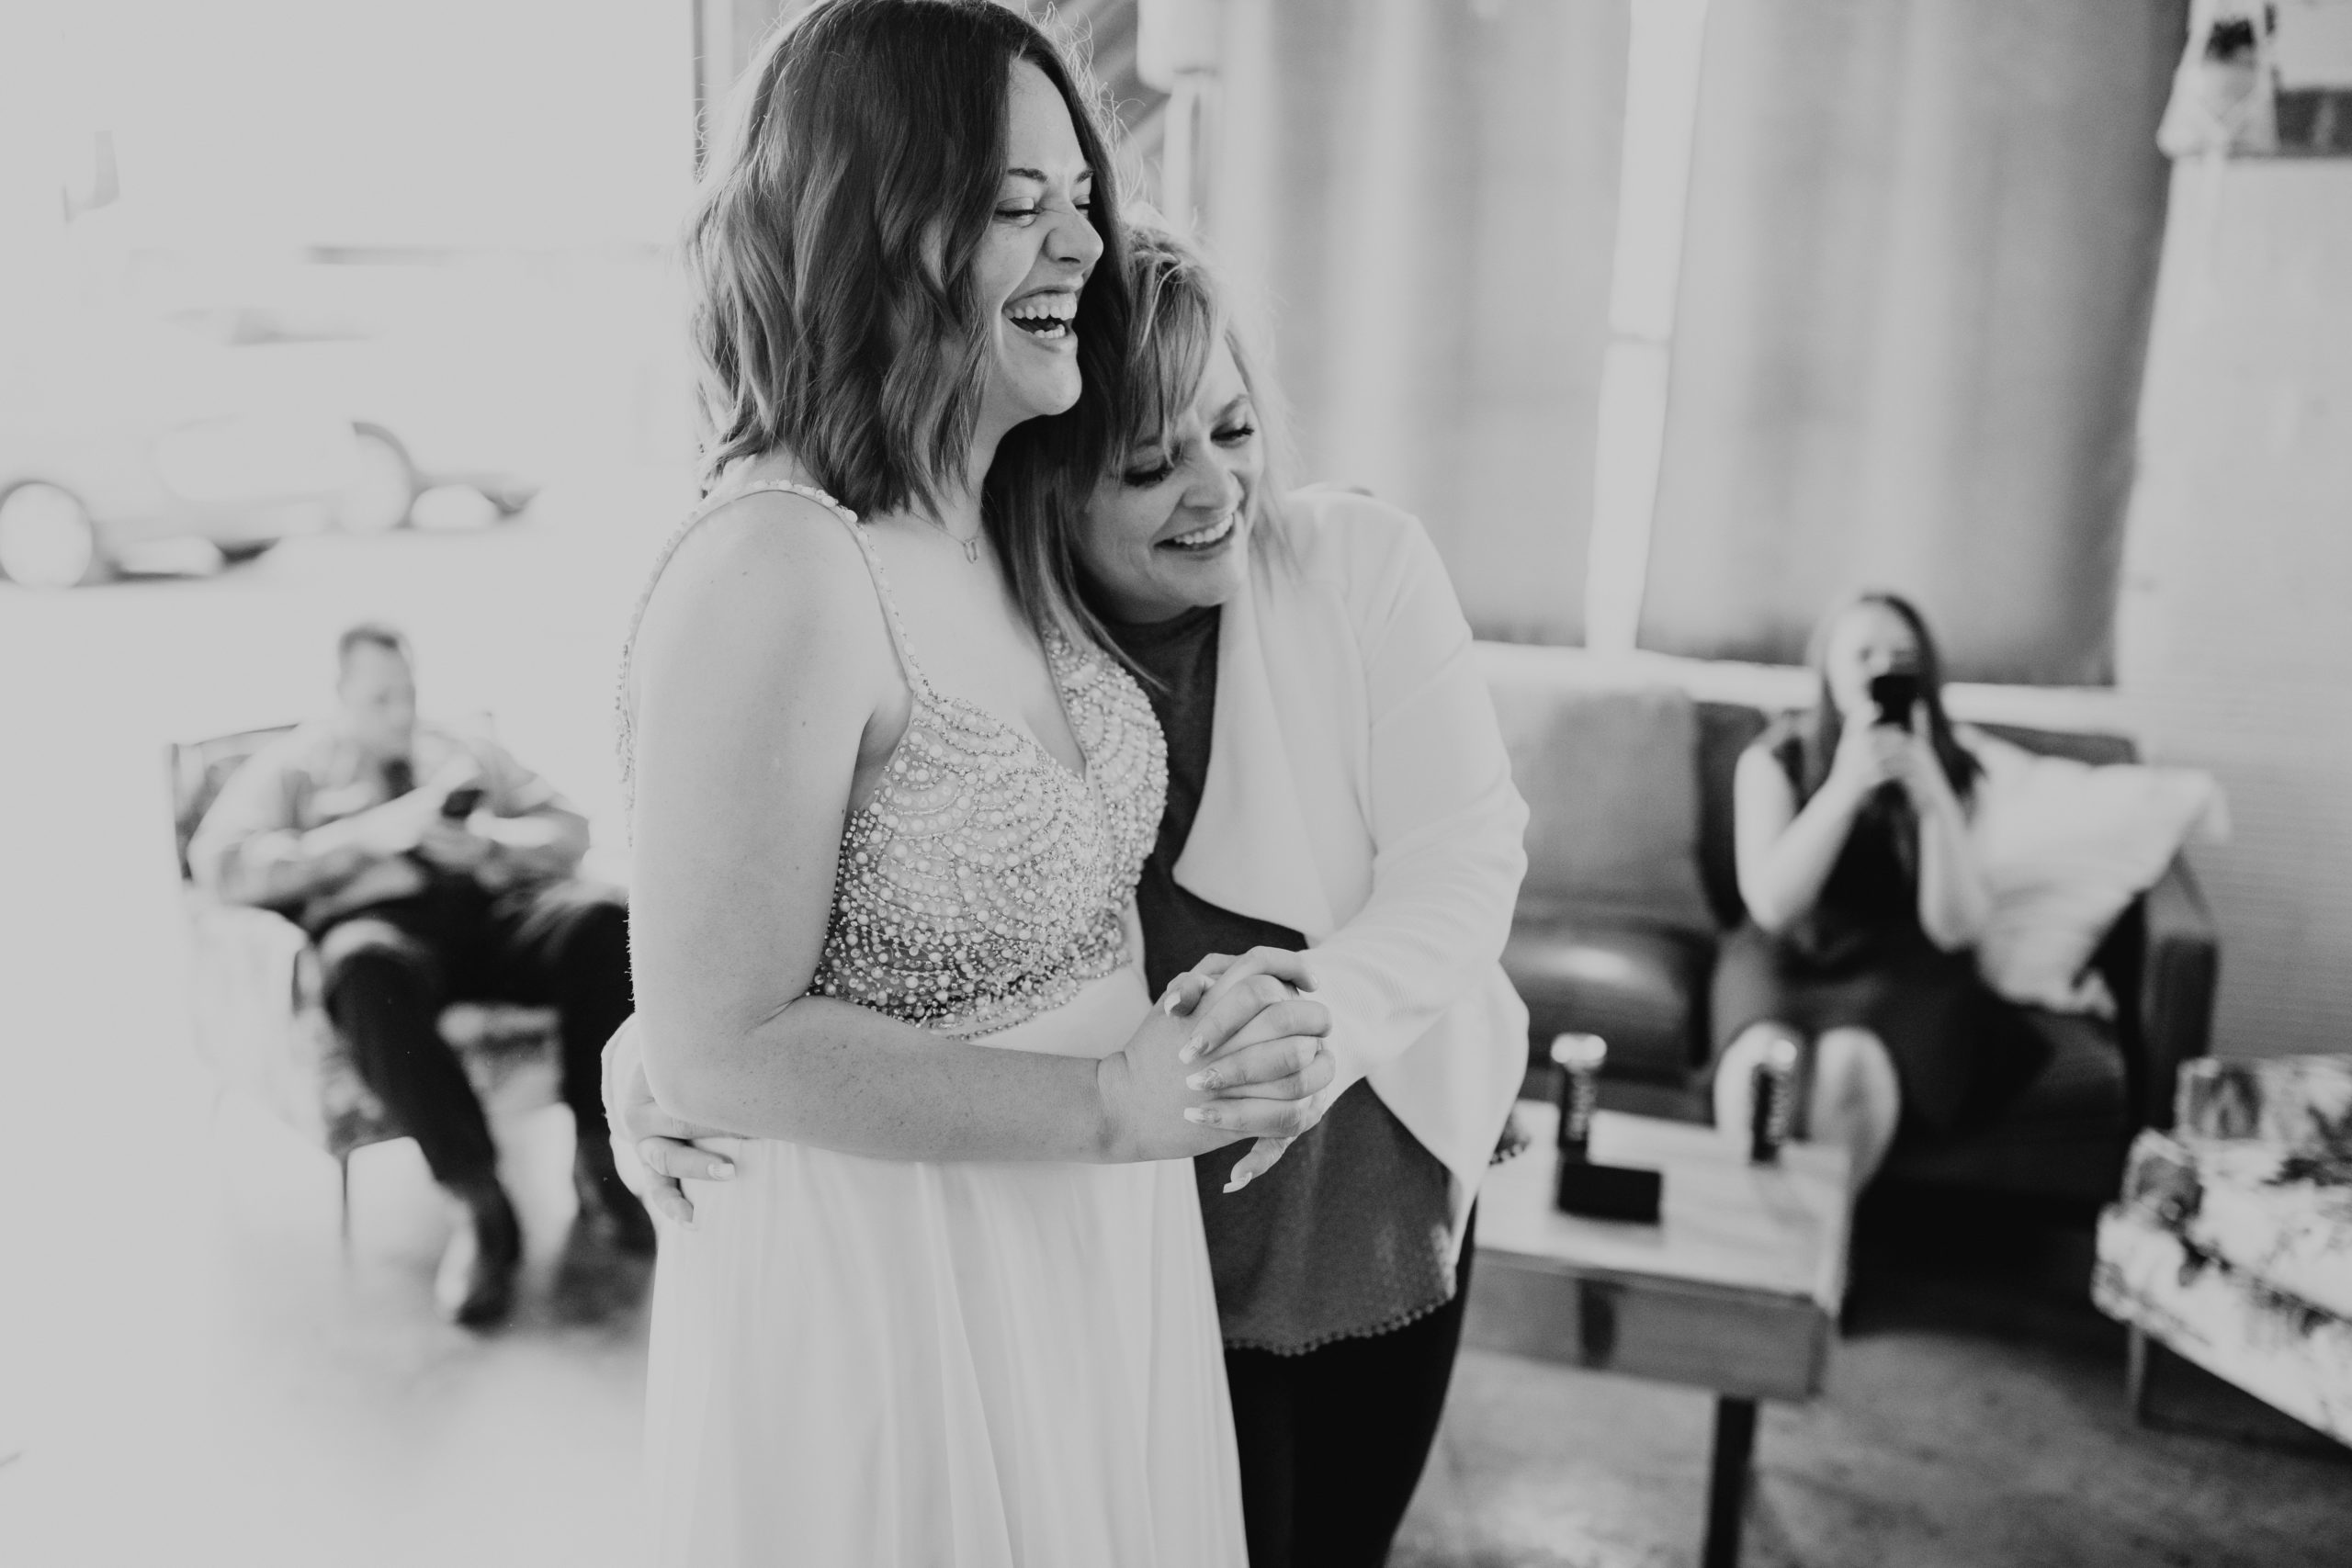
By utilizing these steps below I’m able to edit a full 200 image engagement gallery in less than 30 minutes, and a full 800 image wedding gallery in just 3 hours. Read on to hear the secrets!
1. Master the art of consistent shooting
One of the biggest reasons your editing takes forever is the way your files look in-camera. When you’re at a session or event, be conscious to set a baseline for your files, and (unless you have a stroke of creativity and seek to change the settings on purpose) don’t mess with them.
When the files you have are all consistent in exposure and color, you’ll be able to edit them more smoothly, having to adjust only for individual exposure and lighting considerations (such as moving from front-lit to back-lit). This is the biggest and most effective way to speed up your editing time.
2. Skip auto white balance
It’s true, that camera companies spent a ton of money to get this feature to be pretty dang great for you – but it’s messing with your editing time. If you’re utilizing auto white balance, you run into the problem of lighting situations changing the white balance with tiny microadjustments from image to image – and for consistent and fast editing, that’s a nightmare.
If you’re in a lighting situation that isn’t changing from frame to frame, set your white balance to a Kelvin temp and keep it there. It’ll be easier to edit your files with consistency from one image to the next. The white balance you set in camera has no actual effect on RAW files, so if a random event happens where the white balance isn’t right, you’ll be able to fix it in editing without repercussions in quality.
Bonus: Create brand presets based on the camera body and lens you used
Like many photographers, I’ve developed my own brand presets for how I edit images for my clients, and I’ve saved these in Lightroom. When I photograph weddings, I use two of the same camera bodies so all the colors in my images are exactly the same – but the two different lenses I use react to colors and contrast differently.
To combat this, I’ve created separate presets for the two different lenses, which makes editing a breeze. I’ve also created presets that match my brand colors that are based on the camera bodies of my second shooters and associates as well. Having these presets allows me to skip time microadjusting for differences between cameras and lenses.
You can take this a step further and build these presets based on a pre-determined Kelvin white balance – I always shoot between 4700-5000, so my presets are built on this temperature. One click and the exposure and the white balance are perfectly set.
3. Batch Editing
Batch editing is the holy grail of editing speed. Once you’ve taken the steps above to create consistent files, you’ll be able to utilize batch editing swiftly and efficiently.
Batch editing is the act of editing multiple files at once. Doing this in Lightroom can be done by either “paste settings from previous photo” or by syncing the edited settings.
When editing an entire section of a wedding day, say the outdoor portraits, if you’ve shot at the same consistent exposure and the same consistent temperature, you can edit just the first image from the section and then sync those settings to all of the other images, effectively editing them all at once. You’ll likely have to make tiny adjustments from image to image, but the amount of time that you save overall is substantial. This is how I’m able to edit an engagement session with 200 images in just 30 minutes – with consistent lighting situations and syncing settings, I’m able to edit nearly the entire session at once.
4. Learn to be frame aware on-site
How often have you had to adjust the horizon line on an image, or to crop down because you included a strange element? Spending time straightening and cropping is adding loads into your editing time. Practice finding setting your frame and checking each edge before taking the image.
BONUS: Camp out and wait for the image.
As a professional photographer, you are constantly mastering your skill of anticipation. What is wedding photography besides the act of predicting what will happen and preparing for it? While this obviously won’t work in every situation, you can come to expect the feelings and traditions that happen at events and at portrait sessions, so practice finding the image before it happens. You’ll be able to set settings, choose your frame, and wait. Then click when you know it’s right. You’ll save tons on editing and your images in your galleries will be of overall higher quality.
5. Leave nothing to Photoshop
While your individual Photoshop policy might not be the same as mine, how much time are you losing by pulling each image into Photoshop to do things like dodge, burn, crop, retouch, etc? How many of these things can you do in Lightroom, or better yet, skip entirely to speed up your editing time?
Photoshop plays no role in my wedding workflow (with a few exceptions, namely things like poorly timed cars) and I have no regrets about that. Many adjustments that could be made in Photoshop can also be made in Lightroom. But beyond that, if a particular item was present or nearby, I want my couples to be able to remember that.
Memory is a powerful thing, and photographs are not unbiased instigators. Every detail that you fit into an image will likely jog a memory for the client that you have no idea exists. You don’t always know why something is on a table or what it means to them.
Last words on editing speed
Editing can be the worst part of your photography workflow. Utilize these tricks to speed up your editing time in Lightroom, and soon editing will be a breeze.
Are you utilizing any of these tricks already? What parts of your process are helping with your editing speed, and what pains do you still have? Let’s talk below!
M


Be the first to comment