
The most time consuming part of the wedding process is always the editing. Learning how to start the editing process in camera can help cut back on that time (see my post on how I edit a full wedding gallery in 3 hours!). Even if you’re not in a position to fly through your color correction process, there are still steps you can take to speed it up. These steps will also help you remember what a scene looked like, felt like, and make your images exactly what you’ve always dreamed of them being. Here’s three ways to get it right in camera, to make your post-production a breeze.
1. Set your settings to visually match the scene
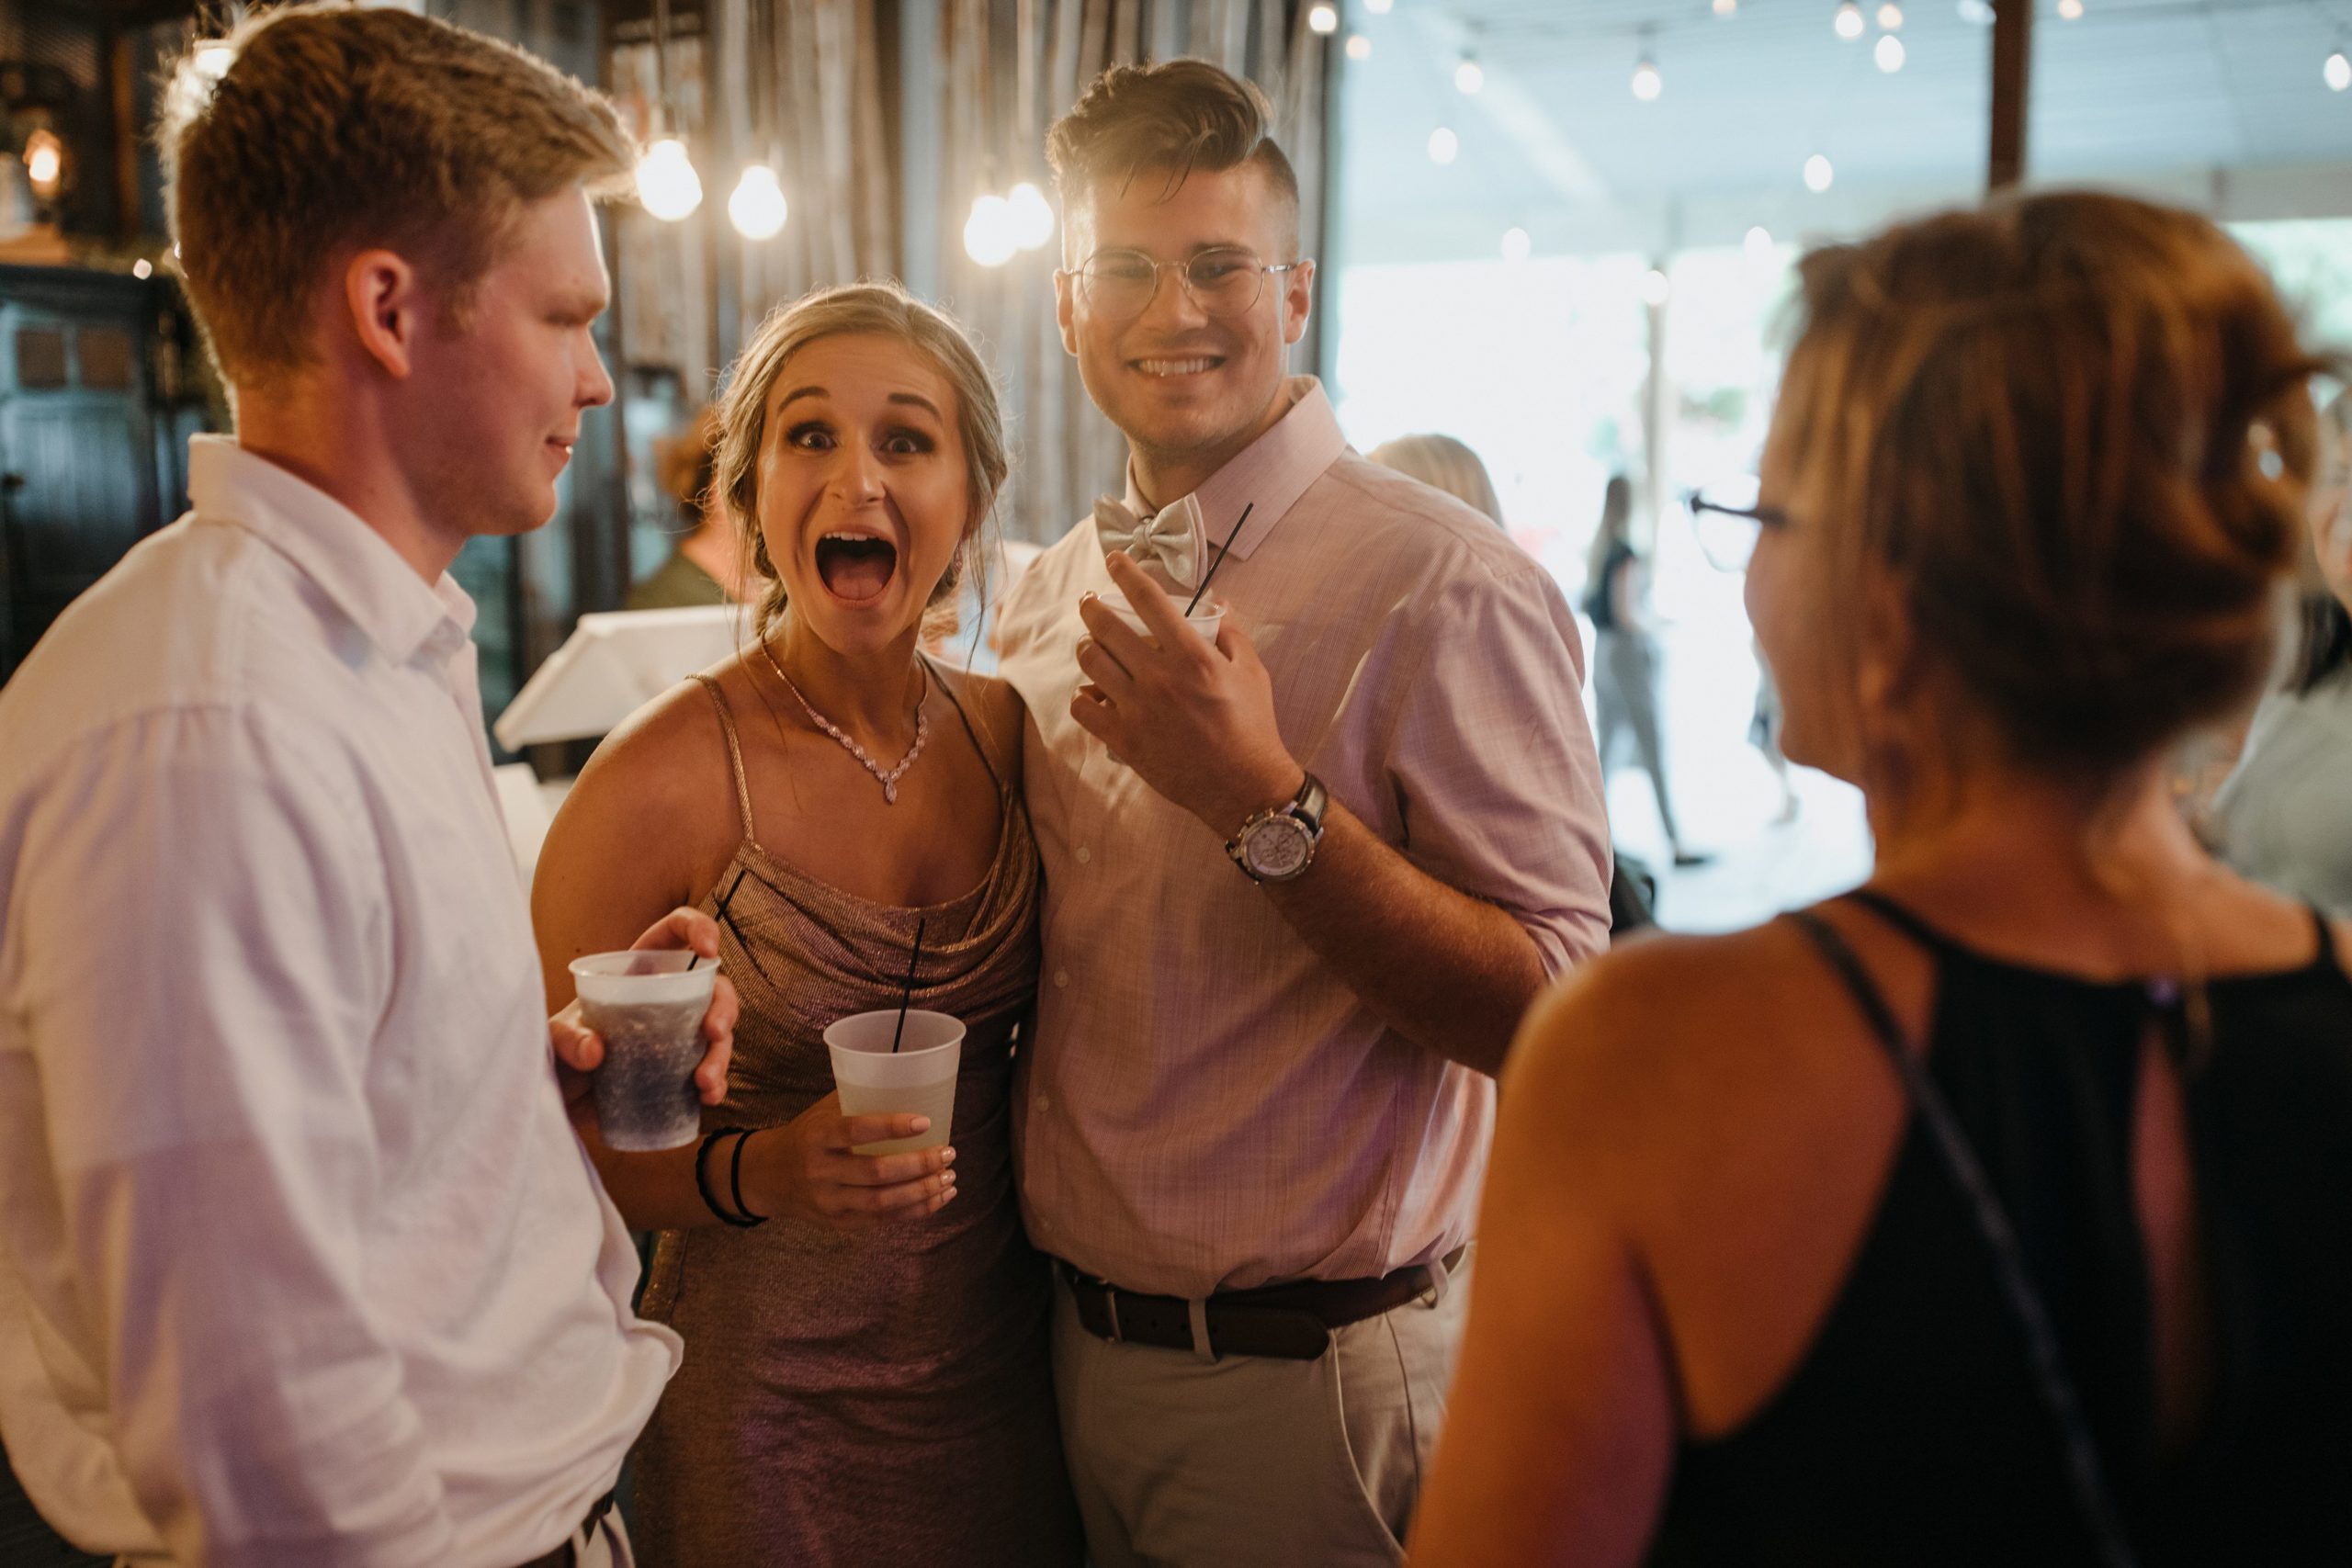
This has been the best use of the LCD screen that ever existed. In my editing, I do my best to visually represent the scene in front of me. No matter how orange or strangely lit the scene is, I want my clients to remember their event looking and feeling the way the images represent. In order to do this, I need to have an accurate visual representation of the event.
To do this, I set my viewfinder to the LCD screen, and from there adjust the white balance and exposure until what the LCD scene shows perfectly mimics what the scene looks like. By doing this I’ve given myself an accurate file that represents the event, and I won’t get lost in creating perfect whites and eliminating all the color from candlelight during the editing process. I get to remind myself that this raw files looks exactly like it did in person, and doing my best to accentuate that gives me the ability to edit quickly and efficiently based on my goals.
Even if you’re not a true-to-life editor or you like to set perfect whites, this method will benefit you by having your exposure and white balance set the same across a group of images – this will help speed up your editing time by having the ability to sync settings across an entire section of the event where the lighting was all the same.
When you look back on the images, you’ll also have a baseline for what was experienced, to give you a place to jump off from for color correction and editing.
2. Use some form of auto if you struggle with exposure
While I truly believe that using complete manual will always yield you the best results, sometimes you’re in an ever changing environment and it’s difficult to maintain consistent exposure. Some situations like this it may be helpful to utilize AV or TV (aperture priority or shutter priority) and leave just one setting to auto. This can help create consistency across the images that make it easier to edit later, especially if you’re not extremely familiar with manual controls yet.
Additionally, take one piece of the equation out of your brain leaves space for other things: like anticipating what’s happening next, or focusing more on composition and framing. Removing an element always makes space for another.
3. Give yourself space for cropping and saving limbs
Speaking of space, remember to leave extra room at the edges of all your frames. While you might think the best way to get it right in camera for cropping would be to frame exactly where you want, that’s not going to quite work. Have you ever framed an image exactly the way you want, but then realized your horizon was crooked? You straighten it out, and then a hand or a foot gets cut off. It doesn’t quite work.
Taking just an extra half step back gives you more space on the edges of the frame to make sure you’re including various body parts, as well as have wiggle room for things like cropping while printing and other rogue factors.
BONUS: Overexposing slightly will fix most grain problems and save time in noise reduction
At weddings we’re constantly encountering low-light situations, and a huge fear of many photographers is grain. While it’s often an unavoidable part of reception photographs, if you’re still struggling with its presence, there’s a few steps you can take to avoid spending time in noise reduction later.
Grain is often exasperated by bringing up shadows, so focus on nailing your exact exposure or overexposing just slightly. Having to turn down shadows and highlights will hide some of the grain you were forced to create, as opposed to trying to hide it with noise reduction or lower settings, but having to bring up too-dark shadows. Having the tonality just right is the best way to get it right in camera when it comes to grain.
Another way to avoid excess grain is to always make your subject the brightest object in the frame. Not only is this good for composition, but having less grain on the subject will lower the overall impression of grain in the frame as a whole. While you can’t always control where the subject is, you often times have multiple angles or options when it comes to how you photograph the situation – try doing a 360 around them and see which angle works best for this situation.
Are there any other steps you take to get yours images right in camera to prepare them for editing? Let’s share below!


Be the first to comment